
Aren't they cute? My daughters love them! I just need to add treats and sneak a few. These boxes were made using two 8 1/2 x 11" sheets of patterned cardstock. I used The ColorBok"Chateau Noir" stack. I've used this stack for alot of projects that I have featured on this blog. The papers are beautiful and versatile.
Now for the boxes, you score the 8 1/2 x 11 sheet of cardstock at 2 1/2, 5, 7 1/2, and 10" horizontally. You then score it at 2 1/2 " vertically. Cut off one corner and then cut up the score lines from the bottom. Fold along the score lines and either glue or add sticky tape to form your box shape. For the bottom, you just fold it in on itself and adhere.
For the top of the box, I cut a 3 1/2 x 3 1/2" square. I turned the box upside down and laid it on the square. I then marked the opening of the box on the square and scored a 1/4' from that line. Now you cut up along the score lines at the corners. And make sure you trim a little off each corner to cut down on extra bulk. Fold along the score lines, tuck in and glue the corners. With this part I had to go back and forth measuring and remeasuring the square to ensure a snug fit. Everything else was pretty simple but making the box top was challenging. You could also opt to leave the box as is without a top. Once finished, just add tissue paper and treats.
You could leave the box as is but I added a few embellishments to make these more unique. Here's the one I did for my five year old:
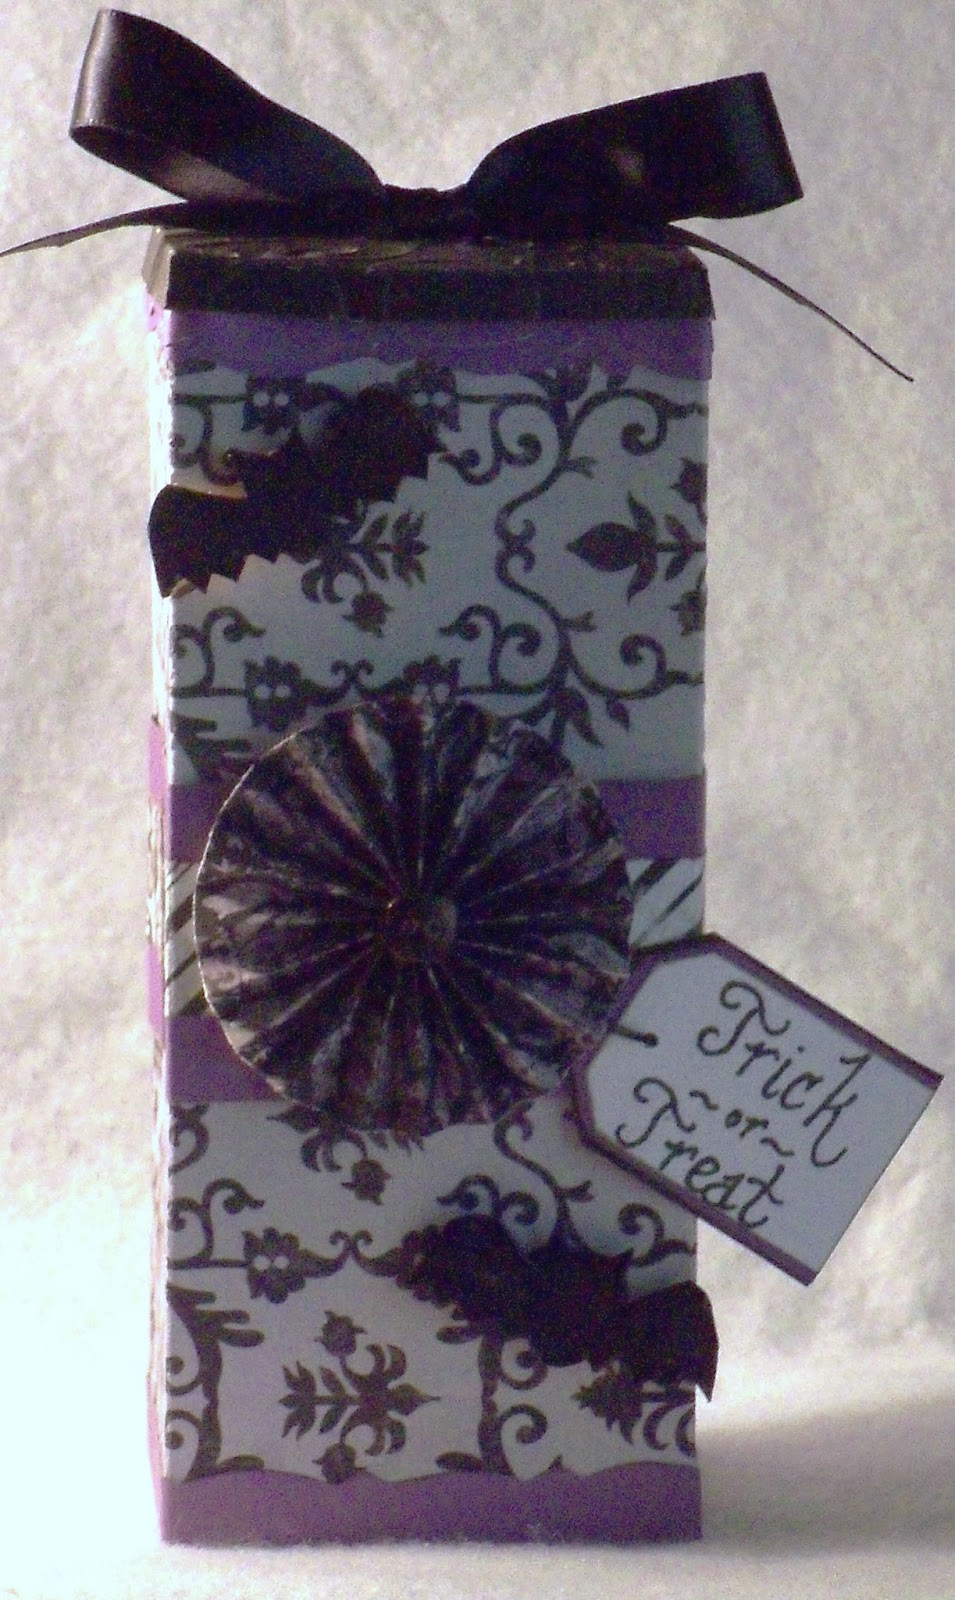
I added a black satin ribbon tied in a bow to the top. I cut two 2" purple strips with decorative scissors and adhered it to the top and bottom. I also added a 2" purple strip layered with a patterned paper to the middle. The addition of a rosette, hand cut bats that were embossed and a handwritten tag completes the look. And ta-da, treat box numero uno is ready for candy.
Now for treat box numero dos that I made for my fourteen year old, I used some of the same embellishments but switched the placement.

The rosette was added to the top. I used green and gray patterned papers for the middle, top and bottom. I added a black satin skull ribbon that was purchased from Michael's last Halloween. Skull and crossbones cut from my Cricut that I embossed and a tag. And voila, that completes treat box number two.
And there you have it. Halloween treat boxes perfect for those little goblins in my life. I hope you all enjoyed this project. It was fun to make as well as challenging. But I will definitely be making a few more for different occassions. I will end this post here and hope you all enjoy the rest of your day and Peace! :)

No comments:
Post a Comment