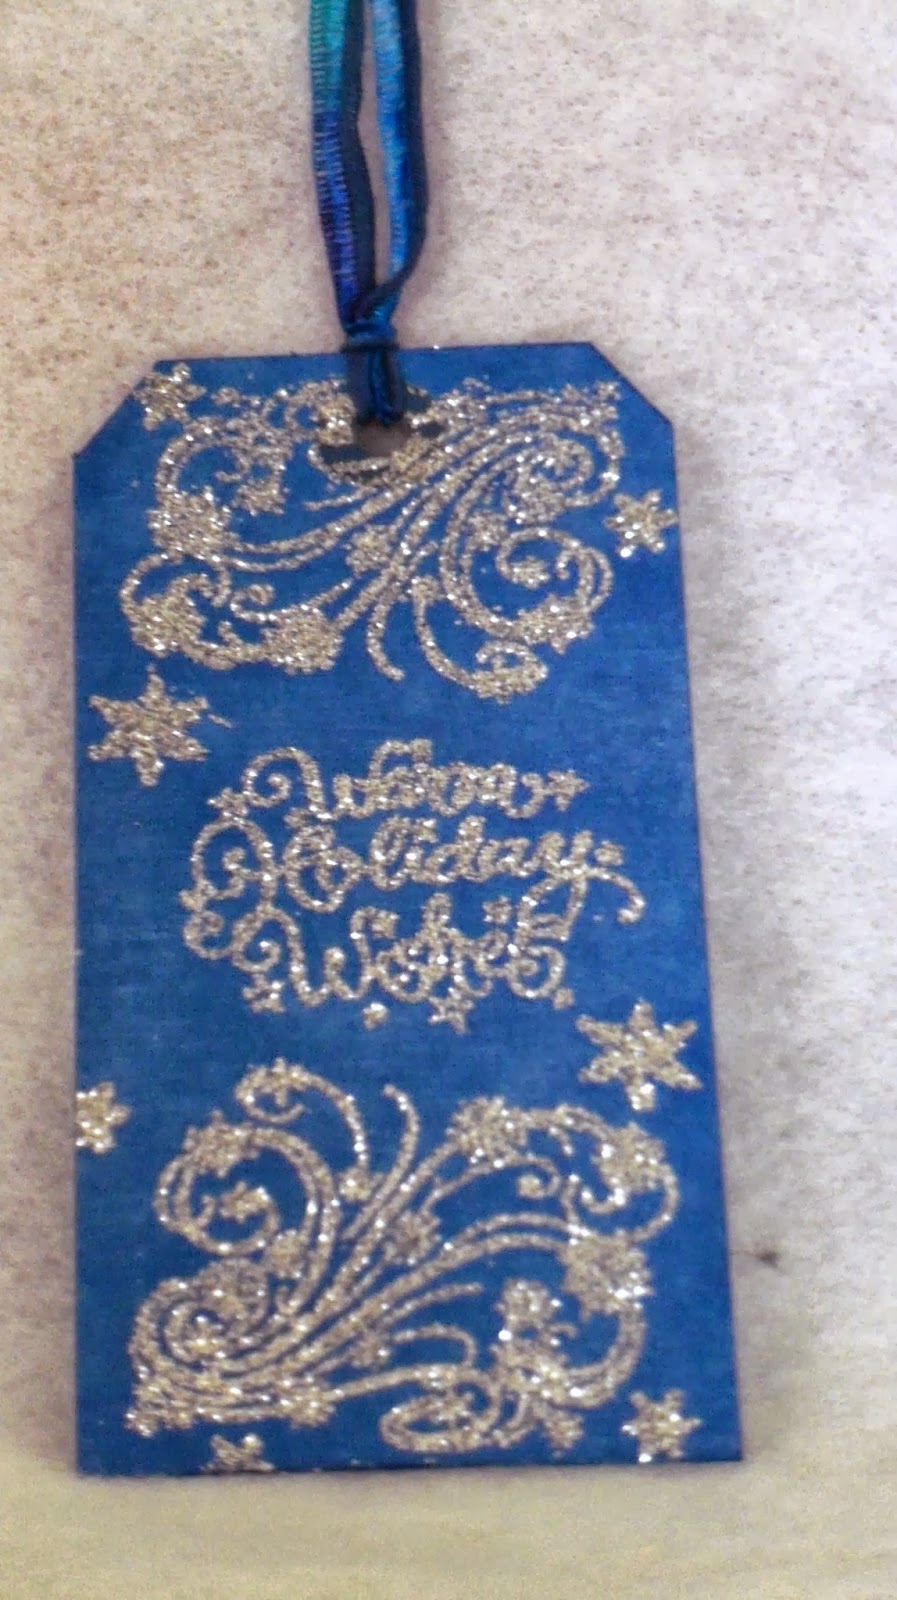
I made this tag the same way I did the red and green tags. (Scroll through my previous posts to see how I made those). I inked the tag with a blue inkpad but instead of using my heat tool to dry it, I let it dry overnight. Great tip if you're not in a rush to make these. I used a christmas stamp set from Inkadinkado and stamped both the flourish and the sentiment in Versamark. I used a Heat and Stick powder and sprinkled it over the image and heated it till it got sticky. But instead of using silver embossing powder, (which I do not have), I used silver glitter. Just use your heat tool to set the glitter as you would for regular embossing. Be careful not to heat it for too long. The Heat and Stick powder helps to hold the glitter in place so it doesn't flake off as easily. I added a coordinating ribbon and matching cardstock to the back and Voila!
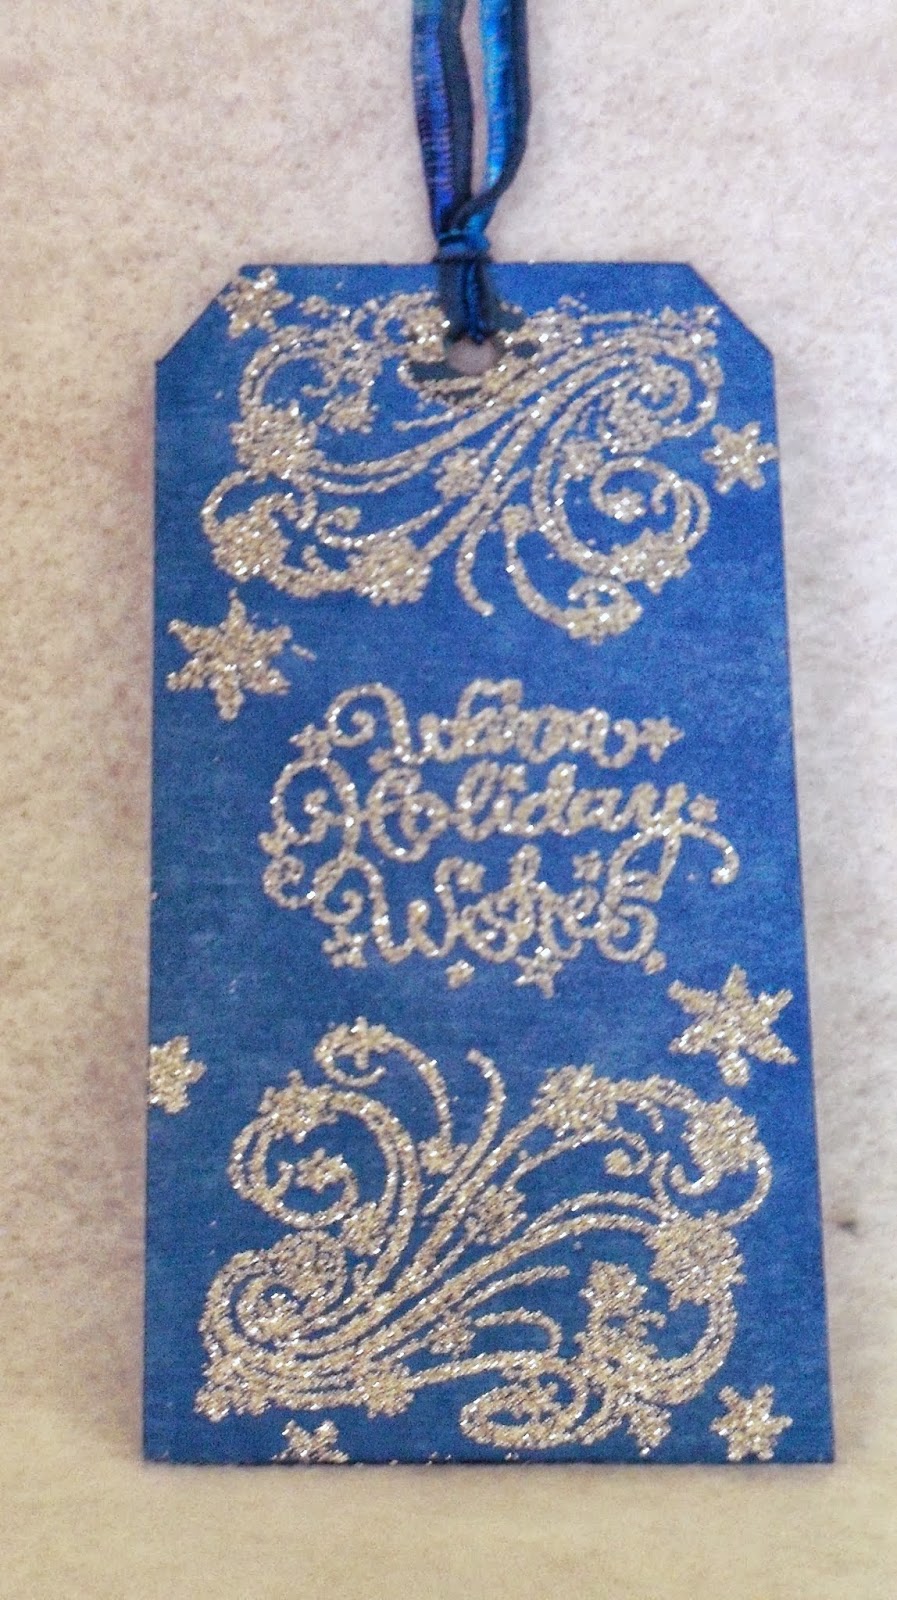
I really love the colors of blue and silver together for the holidays. This tag was pretty simple to make and took no time at all to complete. I really enjoyed making it. I will probably do a few more to see how many variations I can get.
Now for the paper bag album I'm starting, here is the pic for that:

I just took regular paper lunch bags, 5 of them to form this album. I got the idea from YouTube where there are a lot of tutorials on how to do this. Hardest part for me was actually attaching the bags to each other to form this album. I hope I can make this album the way I have it pictured in my head but we'll see how it goes from here. So stay tuned, I will post pics daily as this album progresses so you can see it from start to finish.
I hope you all enjoyed the tag I made. I will end this post here, I need to get my youngest daughter from the bus stop. Where has the day gone? We all know what day of the week it is I just don't like to mention it in my post. Garfield moment all over again. Enjoy the rest of your day and Peace!
<br />
<div class="The-Memory-Nest-button" style="width: 200px; margin: 0 auto;">
<a href="http://www.thememorynest.com"><br />
<img src=" https://lh3.googleusercontent.com/-ZakoHcRrQ0g/UindlvmmhKI/AAAAAAAAFi8/iPbG01BE0XY/w200-h150-no/Blinkieframe.gif" alt="The Memory Nest" width="200" height="150" /><br />
</a><br />
</div>
<!--end button code box--><br />

No comments:
Post a Comment