Here are the pics for you to check out:
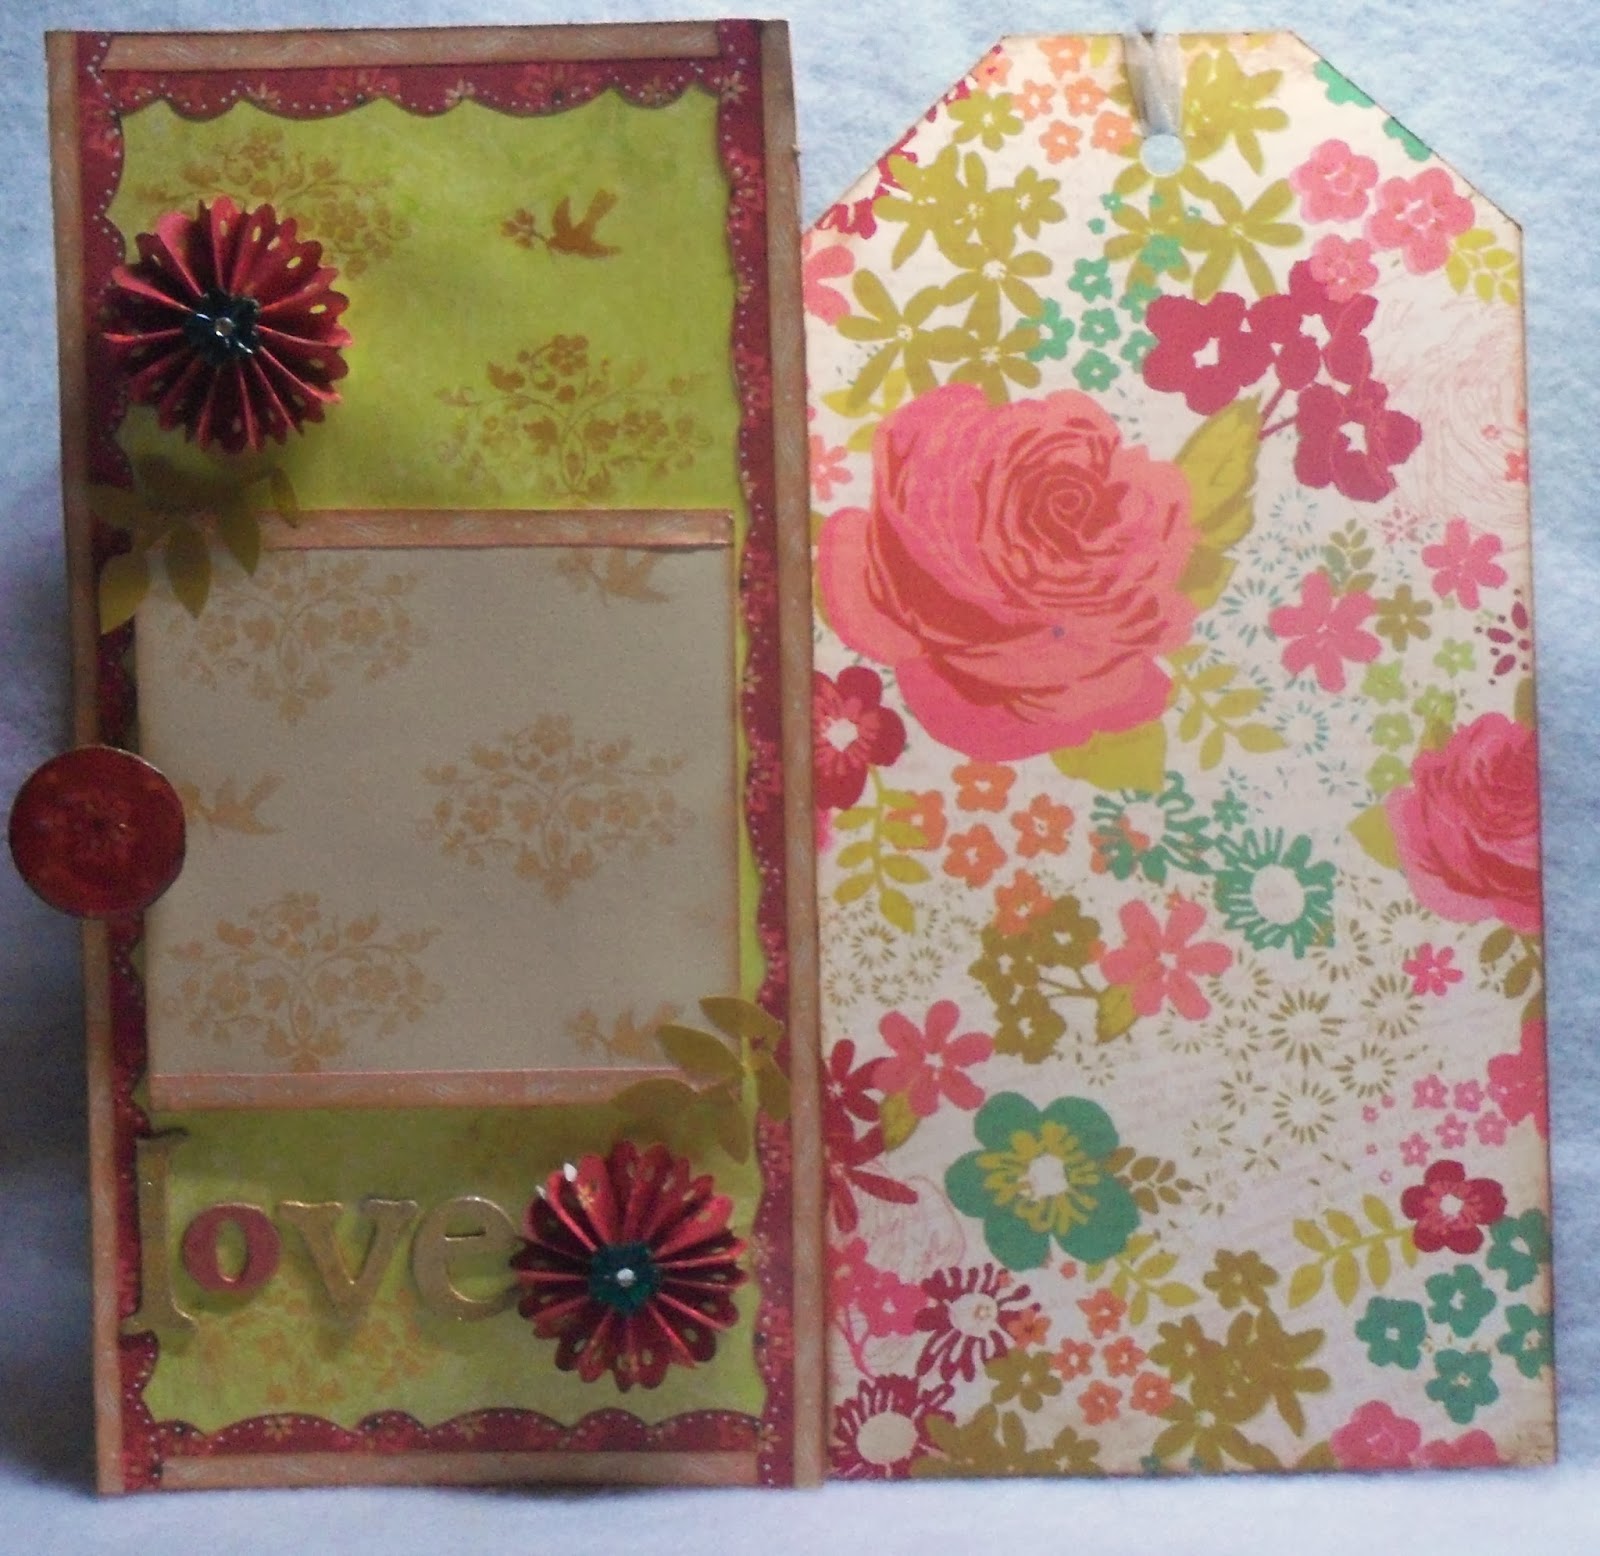
I started with a green cardstock for the base and added a red floral paper (this is the paper I've been trying to use for awhile now) around the perimeter. I cut four strips out of this red floral paper, two measuring 1 1/2x10" and two 1 1/2x5" and cut a decorative scallop border along the edge. I also cut a gold strip that I added along the edge of the red floral and used my ATG gun to attach to the green cardstock. I initially wanted to use the floral pattern as the base for this page but I found the pattern too busy. So I thought using it as an accent would be a better fit to go with the other pages in this album.
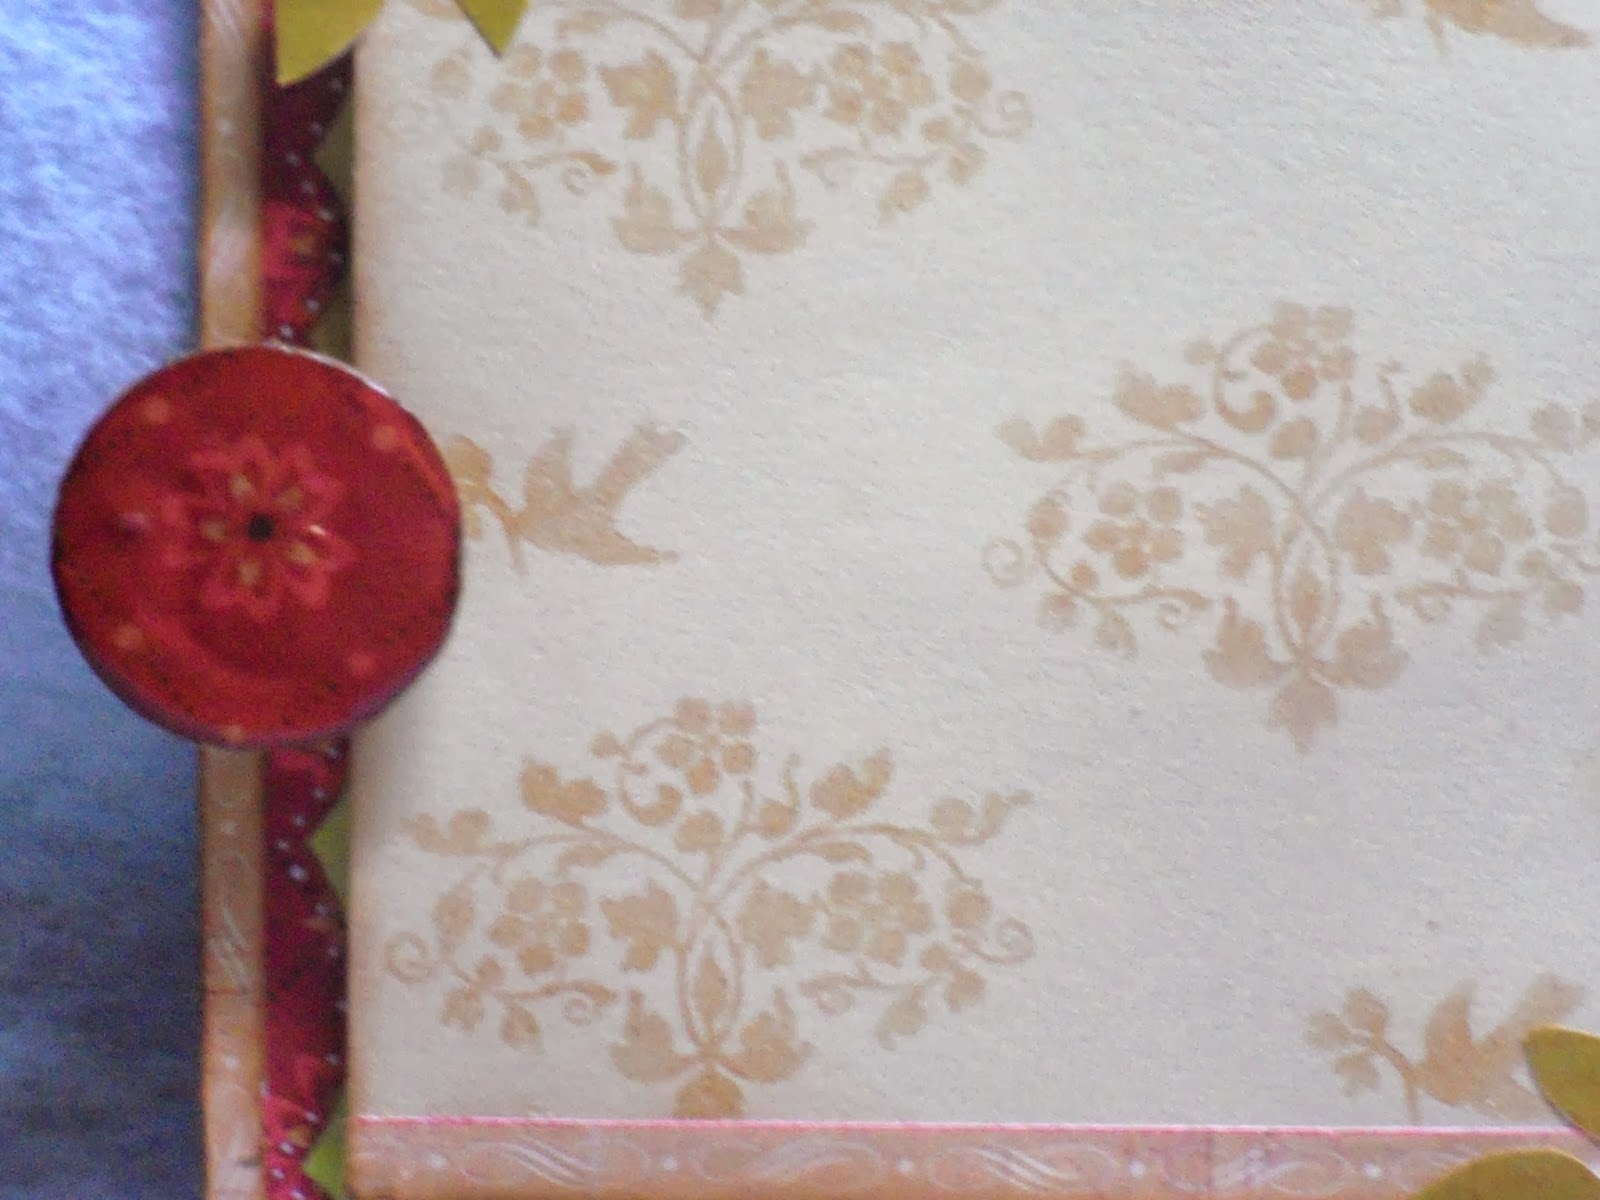
Now, the green cardstock has a very subtle pattern to it. I wanted to incorporate the gold color from the strip to tie it in. So I tried a technique I haven't done before using VersaMark ink and Pearl Ex from Jacquard Products.
I stamped a bird and floral motif randomly on the page with VersaMark.
I then took Pearl Ex Micropigment powder in Aztec Gold to brush on the stamped image.
I was pretty pleased with the look that was created using this technique! You only need to use a little of the pigment to color in your stamped image. But I think it turned out nice. I was able to tie in the gold from the edge and create a pretty pattern.
I knew I wanted to add a 4x4" photo mat to this page.
The problem: I loved the pattern I had created and I really didn't want to cover it up.
So for the better part of an hour, I was torn between leaving the page as is or adding my mat.
I opted for adding the photo mat.
I could not find a nice paper from the stack to add to this page.
I definitely wanted a paper with a subtle background and not have it compete with the other patterns.
So a half hour passes by and I decide to pull a light brown cardstock from my stash.
I thought a neutral would work as there are a lot of bold patterns going on in this page.
And I think my hunch was right.
I used the same technique to add a pattern and make up for covering the original.
I had a few gold strips of paper left over and decided to add them to the top and bottom.
A few pieces of foam tape were used to attach it to the page.
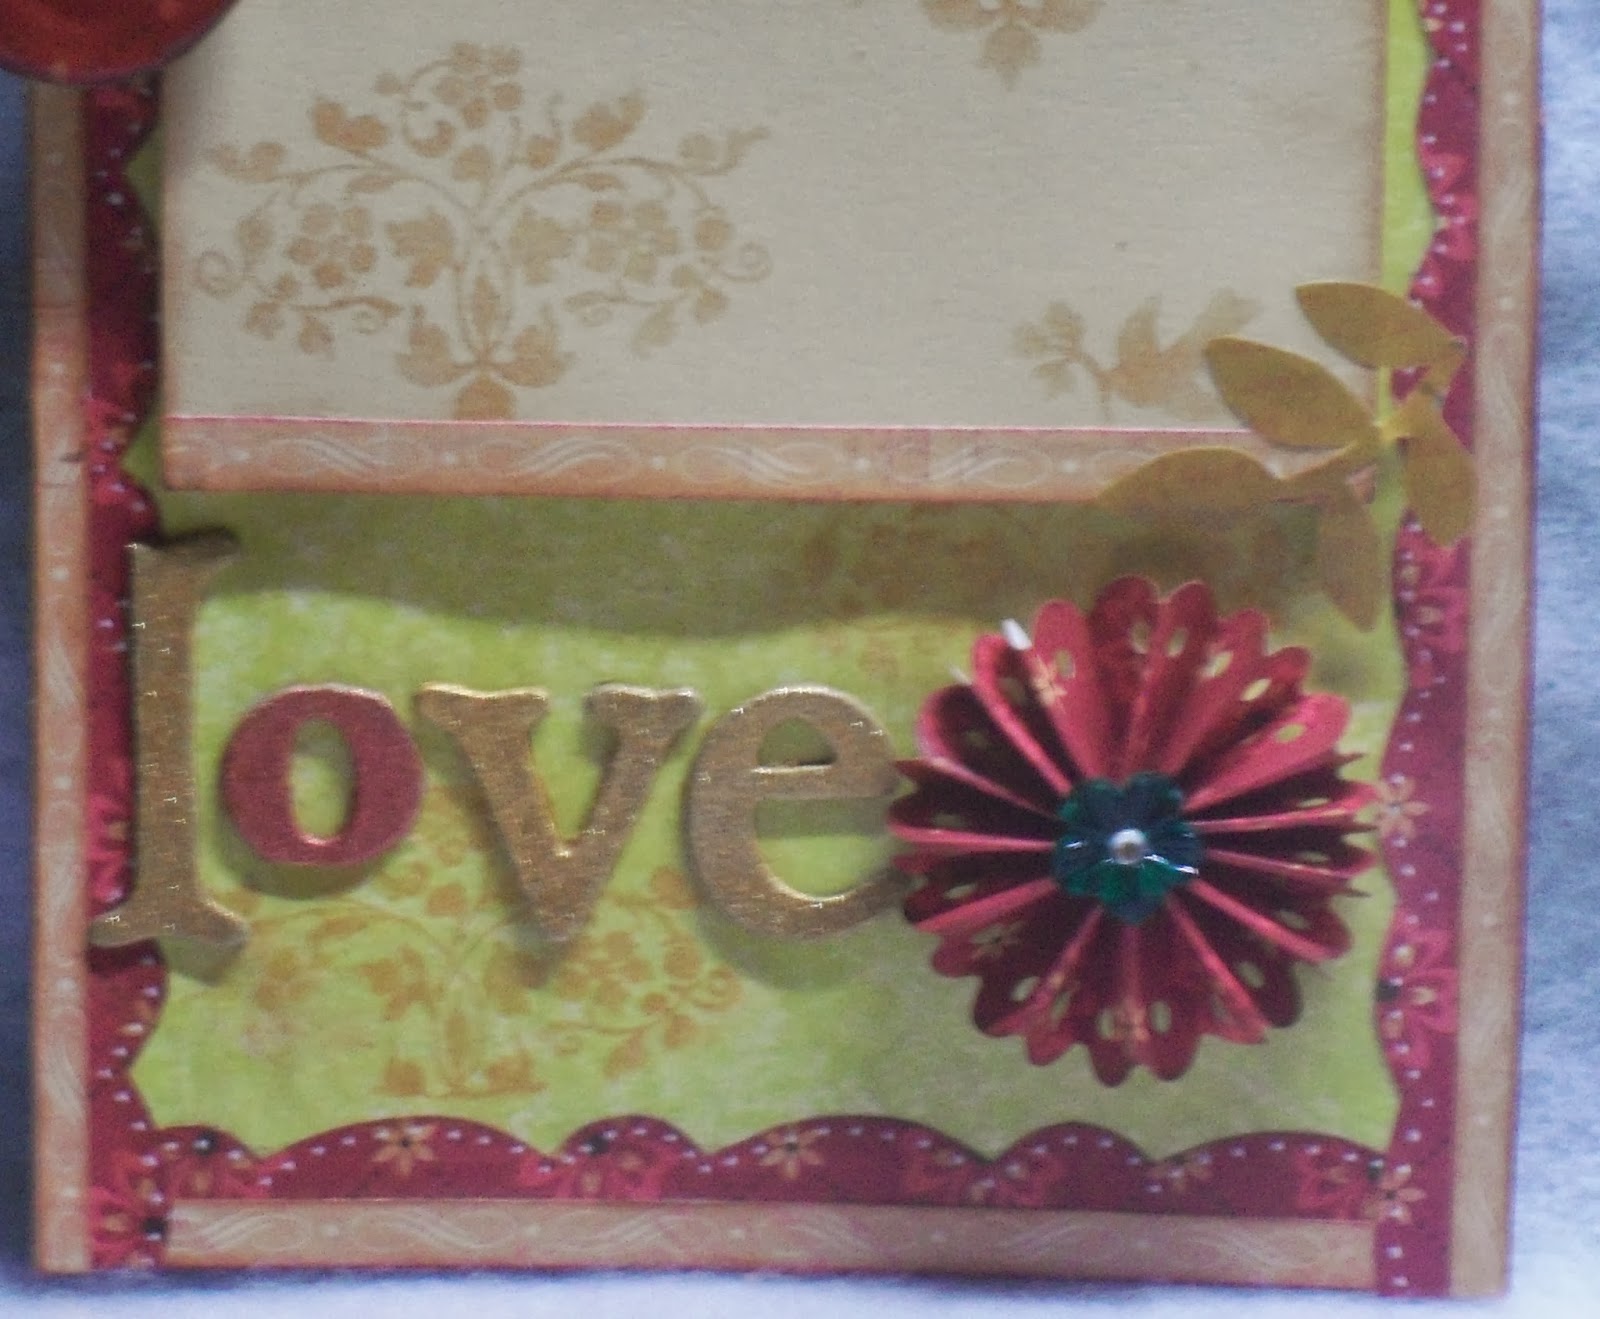
I added rosettes and a chipboard medallion to bring this page to life.
I used some chipboard letters for the sentiment "Love" along the bottom of my page.
I used some more of the Pearl Ex to add some color to the letters and used my Scotch Quick Dry adhesive to adhere them down.
And voila! my page is complete!

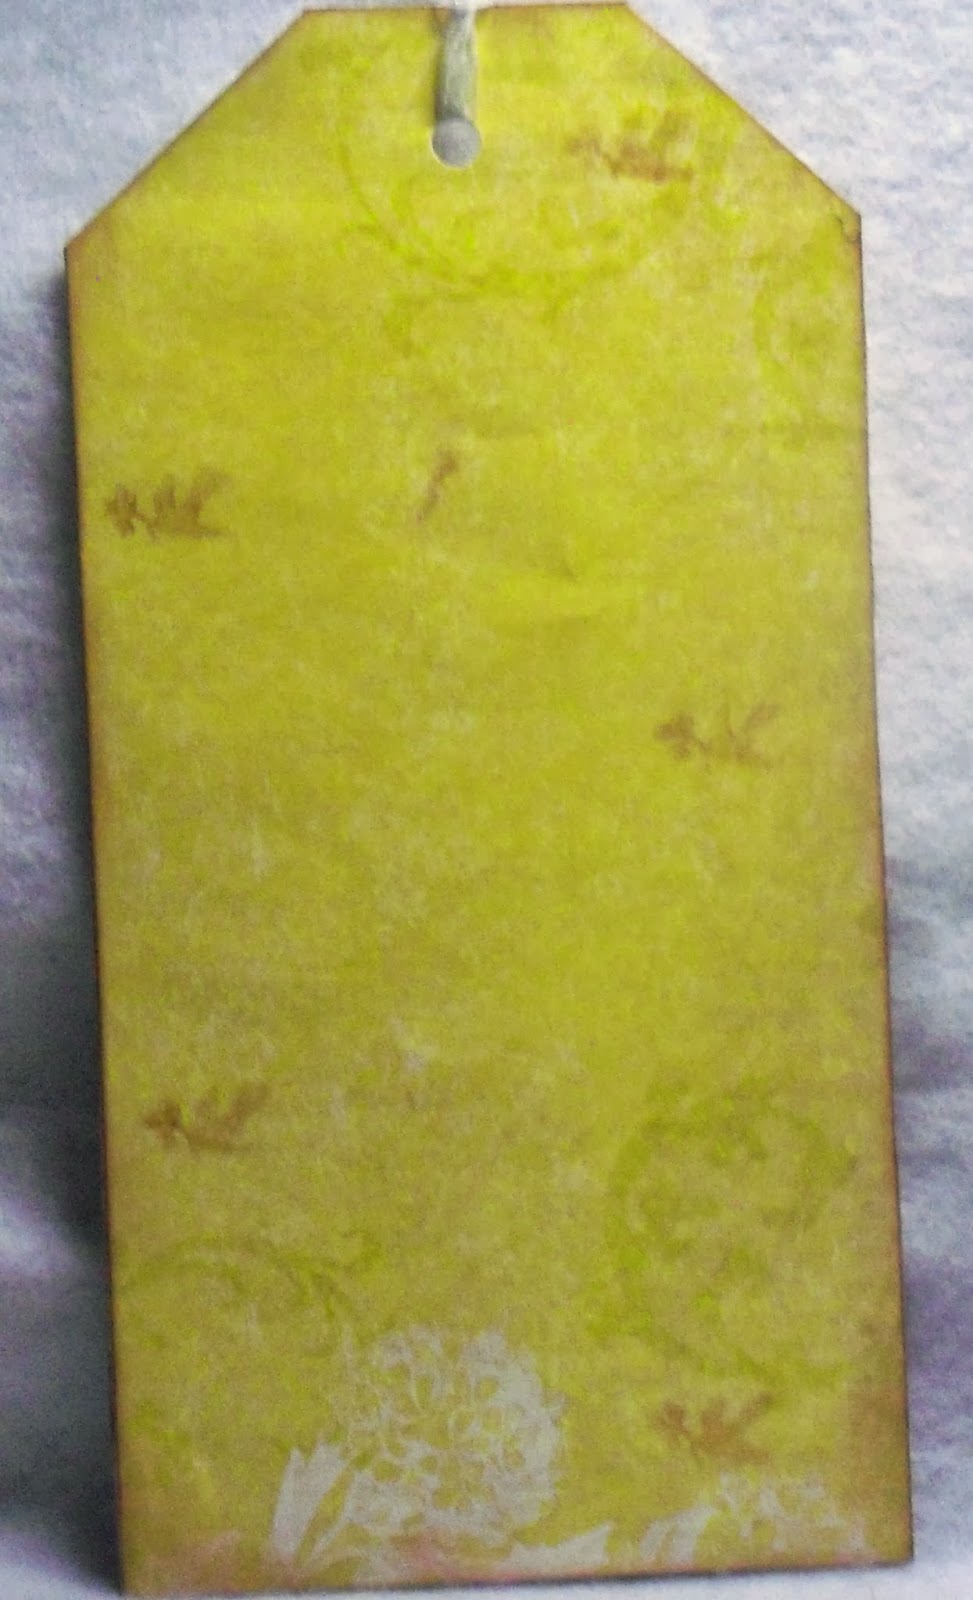
I also made a coordinating double sided tag.
I added some sparkle with my Copic Spica glitter pens and a sheer white ribbon tied at the top.

And my page is done!!
I hope you enjoyed this project for today.
It was certainly a challenge using that red floral paper but I think it turned out alright in the end.
I will end this post here for now and hope you all enjoy the rest of your day!
Only 1 page left to go, Woo Hoo!!
Peace!! :)

No comments:
Post a Comment