
Hmm, I thought this would make an awesome card that I could reproduce!
So I created "Chalkboard Valentine's" for my family and used their favorite colors as card bases.
I love the look of chalkboard but this is my first attempt at recreating it.
I think the cards came out nice but I'll let you decide.
Here's the pic for you to check out:

To create this card, I worked on the chalkboard sentiment panel first.
I grabbed a few stamp sets and picked the sentiments I thought would work best together.
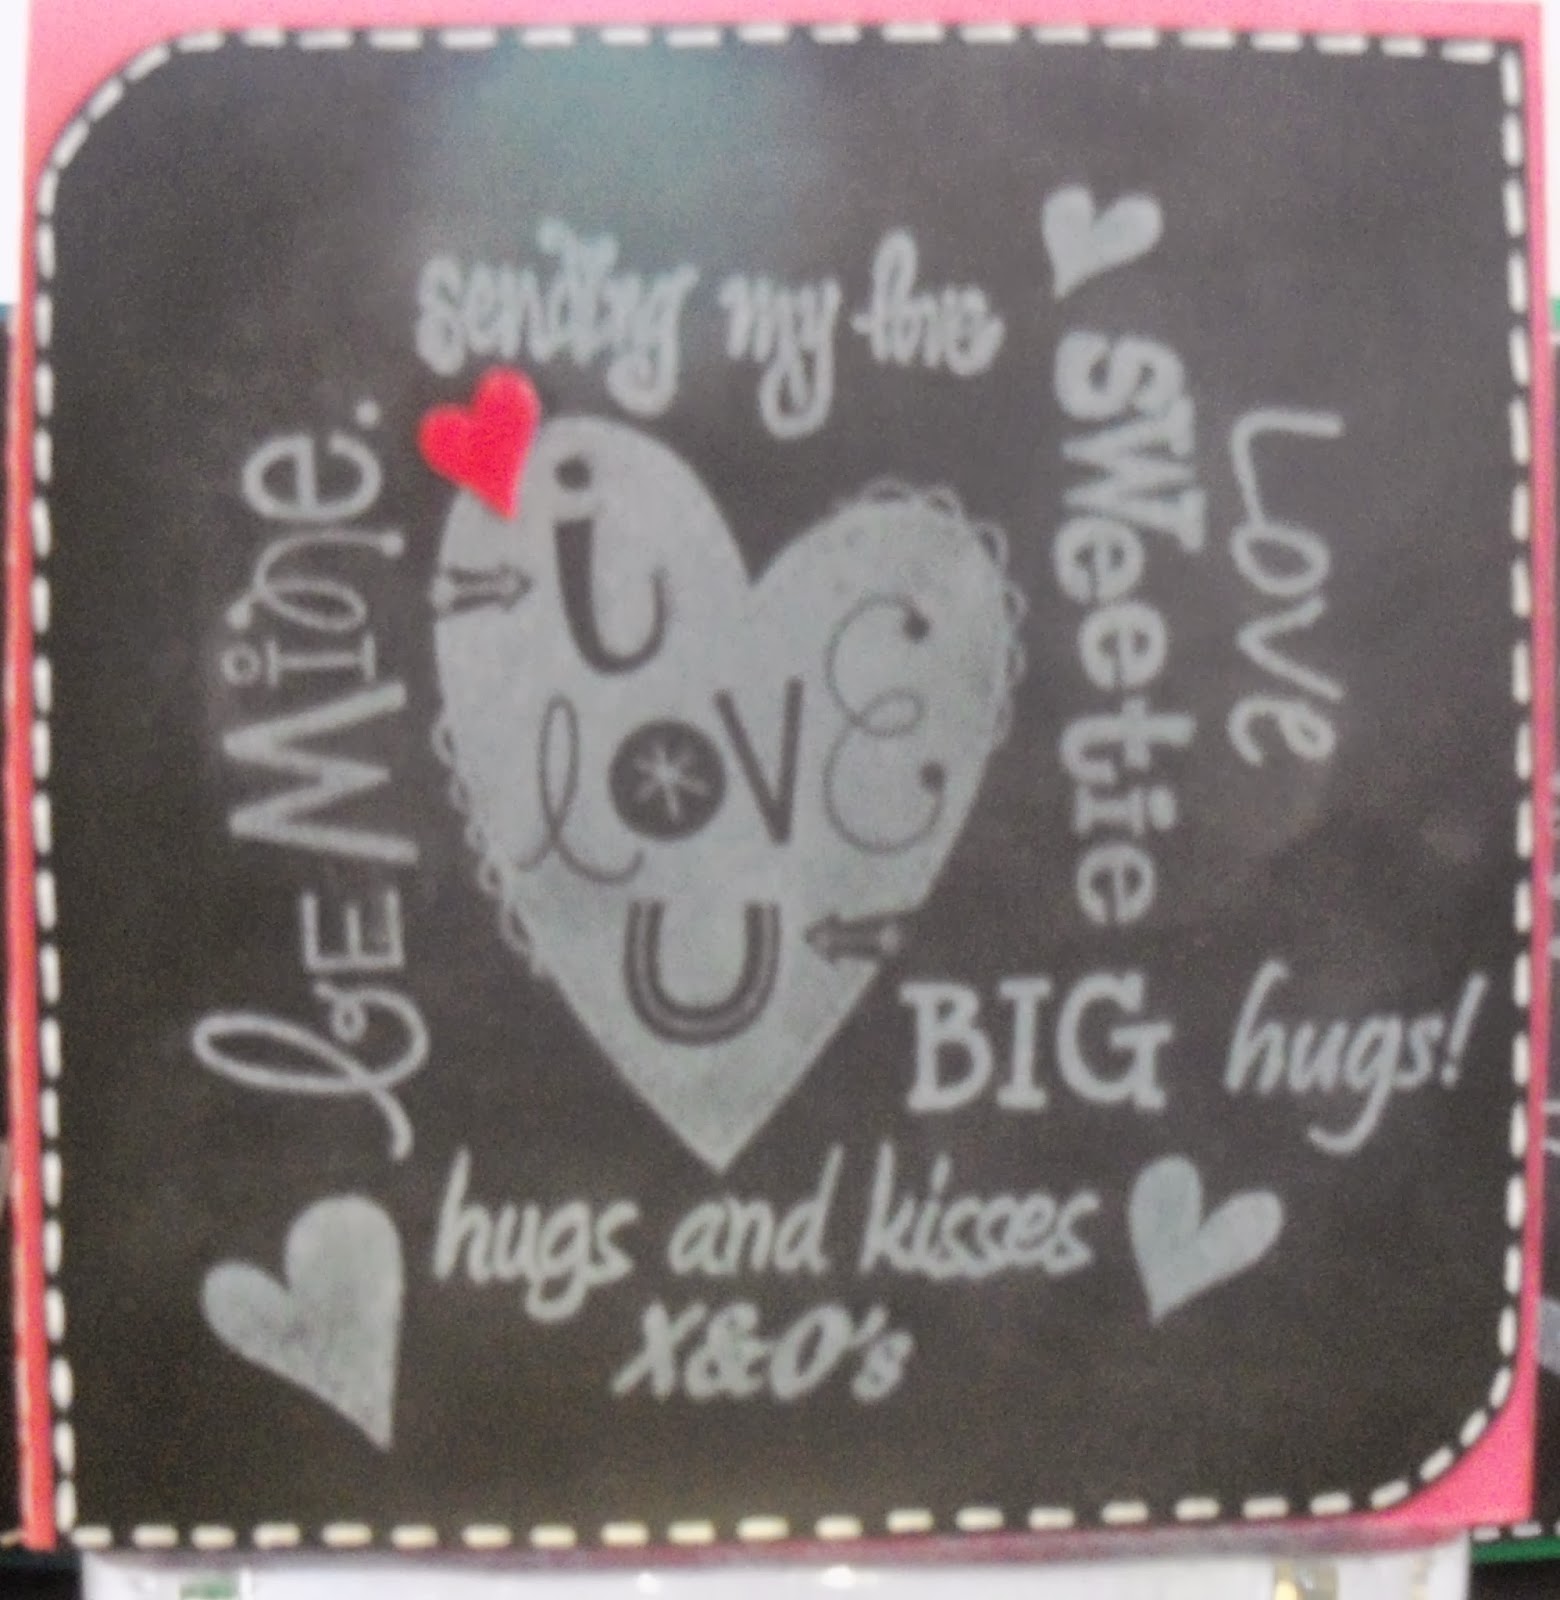
The "X&O's", "Hugs and Kisses", "Big Hugs" and "Love" all came from the CardzTV stamp set "Encouraging Thoughts".
I used two Studio G stamp sets for the ""Sending My Love", "Be Mine", "I Love You" and the hearts.
The "Sweetie" sentiment I took from a Recollections set called "Sweet Treats".
Once I had all my sentiments picked out, I set to work putting them together on a stamp press.
I used the "I Love You" image as my main focal point and used the other sentiments to fill the area around it as best I could.
This took some trial and error and the use of my scissors for trimming.
*I would say this part took the longest only because you have to fiddle around with the placement of everything till you get it the way you want.*
Once I had everything placed the way I wanted, I took some Stampin Up Craft White ink and stamped the image onto a 3 1/2 x 3 1/2" piece of black cardstock.
I used my heat gun to dry the ink and used my Embossing Buddy bag from Stampin Up to lightly dust the stamped image for that chalkboard look.
I also stamped a small heart on red cardstock, double embossed it in clear, cut it out and added it to the panel for a little pop of color.
To finish off my panel, I rounded the opposite corner, added some faux stitching, and attached it to the card bases with foam tape.
For the card bases, I took three 8 1/2 x 11" sheets of cardstock in pink, blue and green and cut it down to 4 x 8".
When folded in half, this creates a 4 x 4" square card.
And ta-da! cards complete!!
I hope you all enjoyed this project for today!
I had a blast recreating this chalkboard look and I'll probably go back and add just a few more accents here and there.
I'll end this post here for now so you can enjoy the rest of your T.G.I.F!!!
Peace!! :)

No comments:
Post a Comment