Hey Everyone!! Happy "Hump" day to you all!! I hope your day is off to a great start. For today's post, I have a card I created for the latest Handmade Harbour Challenge. The theme for this week's challenge is Stitching "Faux or Real."
Make sure to stop by the Handmade Harbour blog: handmadeharbourchallenges.blogspot.com to link up your projects and be sure to check out the great projects the DT members have created.
The prize, for those who participate in this week's challenge, is your choice of 3 digi stamps from the Handmade Harbour store.
I look forward to seeing what you create.
Here's the pic of my card for your perusing pleasure:

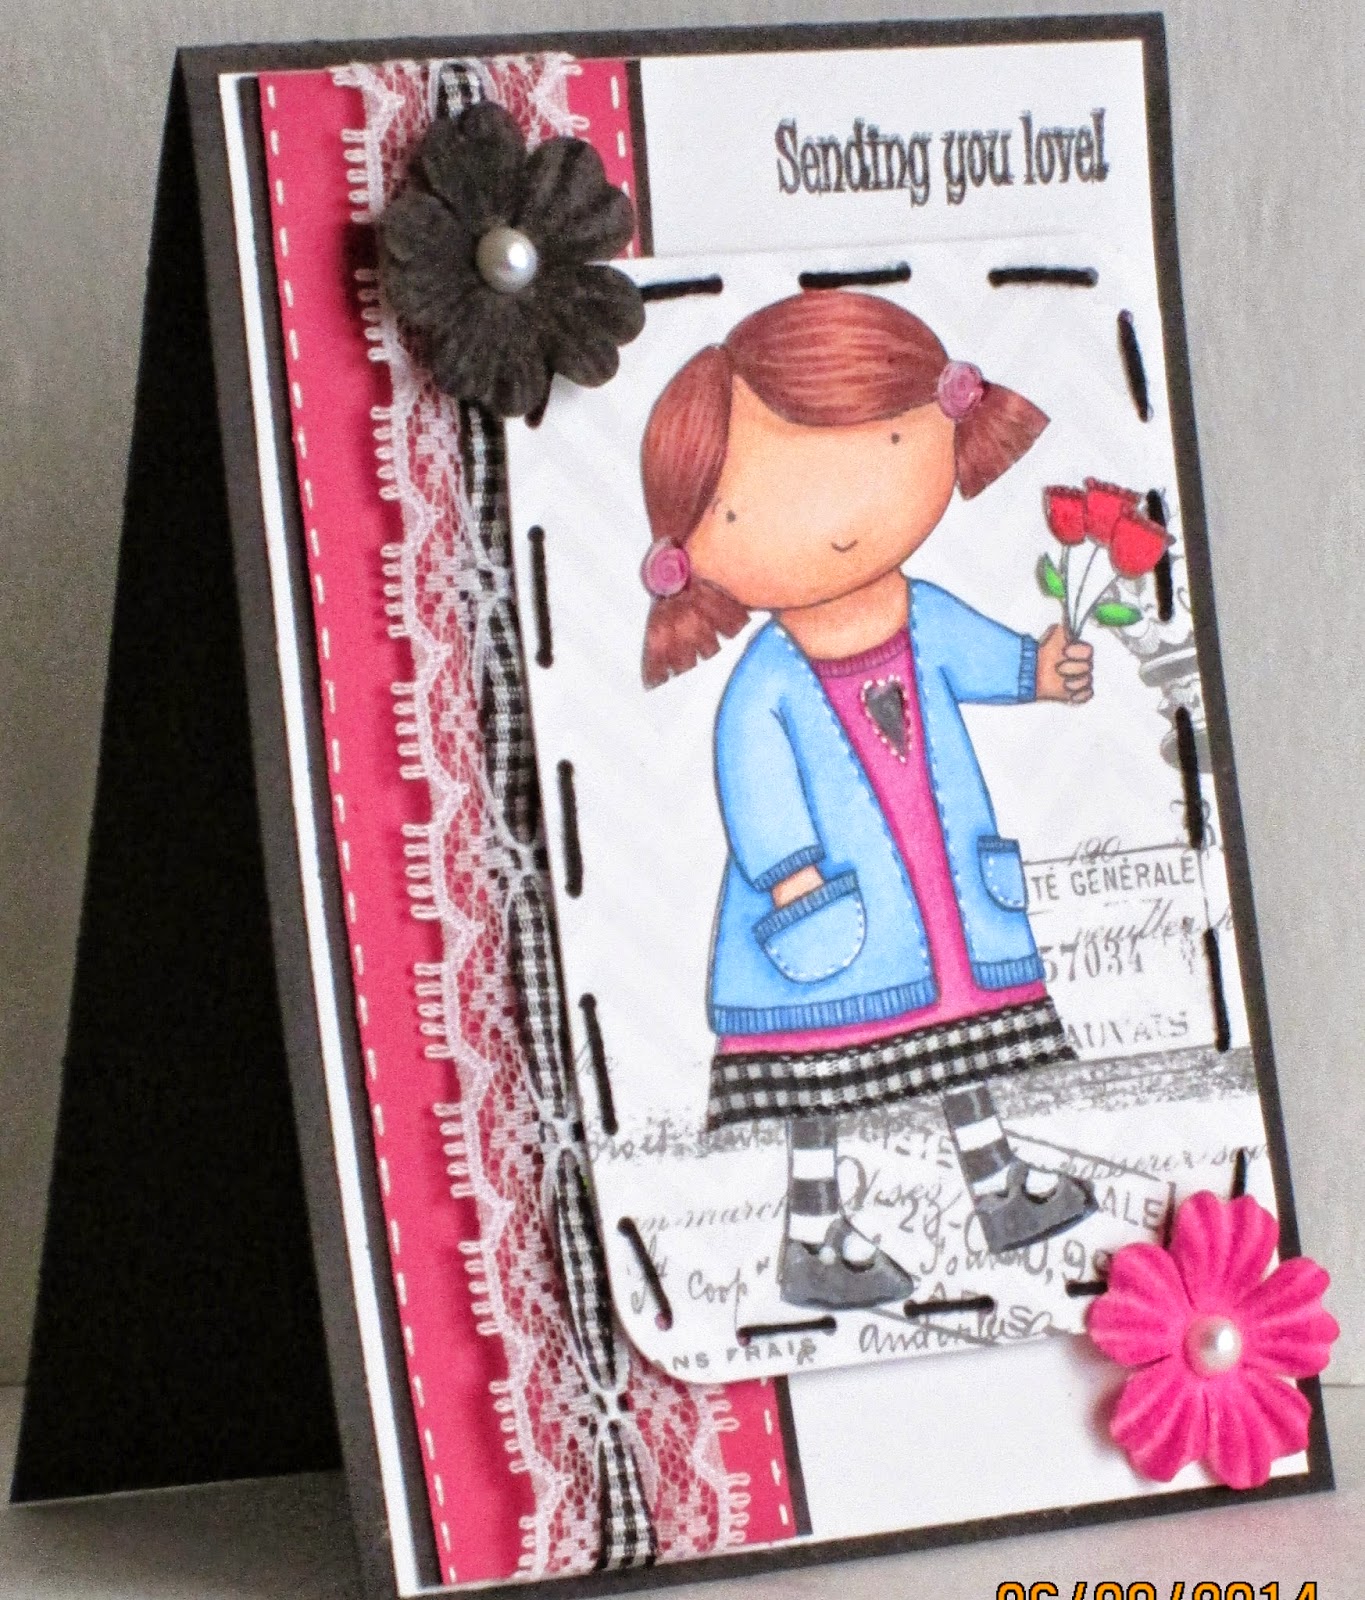
The card base is a standard A2 size card made from a sheet of black cardstock, cut at 4 1/4 × 11 to create a top fold card.
I cut a piece of white cardstock, for the card layer, to 4 x 5 1/4" and adhered it down using my ATG gun.
For the panel on the front of the card, I trimmed a sheet of black cardstock to 1 3/4 × 5 1/4" and layered a piece of pink cardstock on top cut at 1 1/2 × 5 1/4".
I added a strip of lace down the middle, that was threaded with a black gingham ribbon, and secured it to the back using tape.
I used a white gel pen to create stitch lines along the pink cardstock and adhered the panel using my ATG.
Once I had my card base complete, I set to work on the image.
I printed the Girl with Flowers image on white cardstock.
The number for this image in the store is #555.
I used a combo of Copics and Bic MarkIt markers to color it in.
Here is a rundown of the colors I used:
-Skin- E00, E11, R20
- Hair- E13, E15, E18
- Dress and Barrettes- Pink Flamingo, Fandango pink
- Jacket- Blue Skies Blue
- Shoes and Stockings- Cloud Nine Grey, Tuxedo Black
- Flowers- Rambunctious Red, Honey Brown
For some added detail, I used Glossy Accents on the shoes and barrettes.
And some white stitch lines to the jacket and dress.
I also used a piece of the black gingham ribbon along the hem of the dress.

I took a journaling card from a Heidi Swapp set, punched holes all along the edge and threaded some black embroidery floss through the holes I created.
I then tied it in a knot on the back and glued my image on top of it.
I then used pop dots to adhere it to the card base.
To finish off the card, I added flowers, pearls and my sentiment "Sending my Love" from a CardzTV "Encouraging Thoughts" stamp set.
And ta-da!! card complete!!
I hope you all enjoyed this project for today.
Enjoy the rest of your day and Peace!! :)

No comments:
Post a Comment